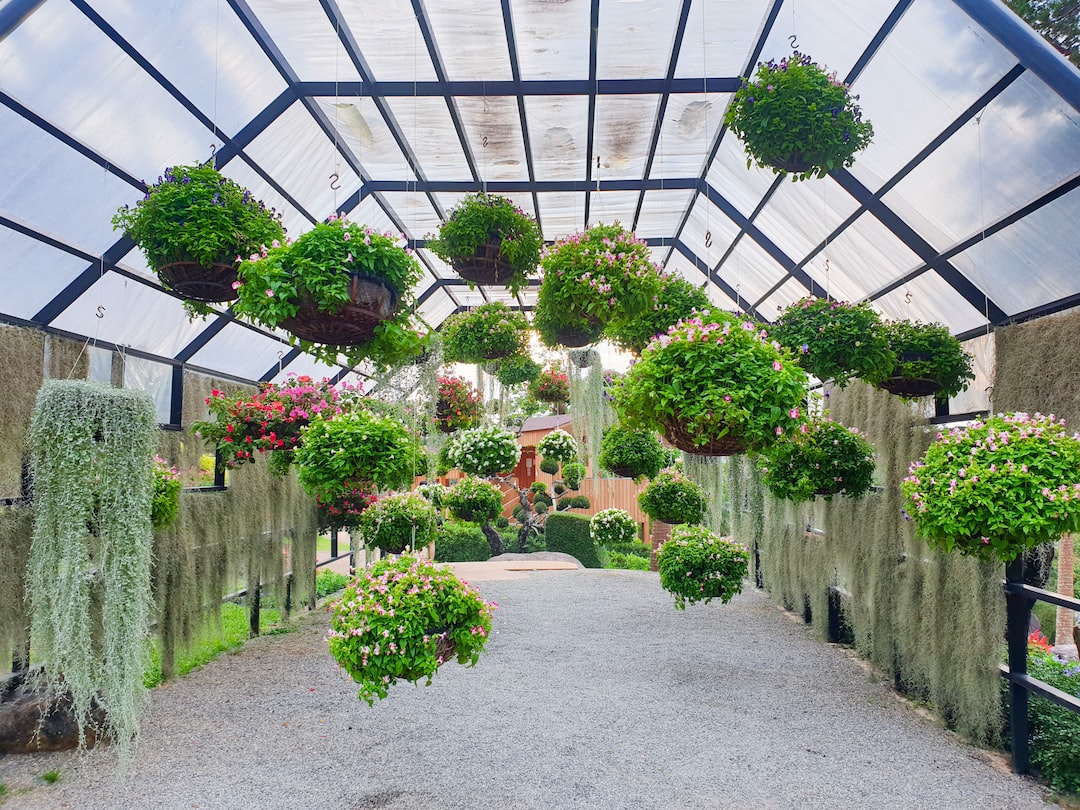
If you’re living in a small space and want to incorporate some greenery into your decor, a vertical garden is an elegant and easy way to do it. Vertical gardens not only provide a breath of fresh air in your indoor environment, but also function as space-saving, decoration and even as an herb garden. Fortunately, making a DIY vertical garden is easy and inexpensive, in this article, we’ll show you how to do it.
Step 1: Choose Your Location
Before getting started, decide where your vertical garden will be located. Choose a space that receive plenty of sunlight, not too far from a water source, so you can easily water it. Vertical garden can be placed anywhere in the home, from the kitchen, bathroom or living room, as long as you have a bare wall to hang it on.
Step 2: Decide on the Type of Garden
When it comes choosing the right type of plants, there are a few things you need to keep in mind. Primarily, consider the amount of sunlight your plants will need. Some plants require more sunlight than others, so choose plants that are suited to the level of sunlight in your chosen location.
Another factor to consider is the space available in your garden. If you have limited space, it’s best to choose plants that grow vertically, like trailing vines, ferns or succulents.
Step 3: Prepare Your Garden Container
To make your own vertical garden you will need a container. Wooden pallets, canvas, gutter systems and shoe organizers are commonly used. We will be using a canvas for this tutorial.
To prepare the container, start by lining the back of the canvas with landscape fabric. Cut out the fabric to size, leaving a 3cm border around the edges. Once that’s done, staple the fabric around the edges, making sure it’s secured tautly.
Step 4: Create Plant Pockets
To create the individual pockets for your plants, start by measuring and marking out a grid on your landscape fabric with a ruler and marker. Each pocket should be equal in size to the area you want to plant your chosen plants in. Once you have marked out the grid, sew the fabric along each line you have drawn. This will create pockets in the landscape fabric, into which you will plant your plants.
Step 5: Plant Your Garden
Once you have finished sewing your pockets, you can now begin planting your garden. Fill each pocket with soil and plant your chosen plants. Don’t forget to water your plants regularly!
Step 6: Hang Your Vertical Garden
To hang your newly created vertical garden, simply attach hooks to the back of the canvas. Once the hooks are securely in place, you can hang the canvas on the wall.
In conclusion, making your own vertical garden is an easy and fun way of bringing some greenery into your living space. With the right location, a few simple materials, and minimal effort, you can create your very own indoor garden that is sure to impress your friends and family. Why not give it a try today?
